The Darkroom
Introduction
Every film photographer secretly dreams of owning their own darkroom to develop their films.
In my case, disappointing experiences with local photo labs (scratches, dried fluid marks on negatives) and their pricing quickly convinced me to switch to home development. However, setting up a full lab represents a significant budget and logistical challenge, especially when living in an apartment like I do.
In this article, I share my experience creating a very d.i.y. darkroom directly at home and exploring the world of film photography, in no particular order.
Feel free to use the table of contents to navigate to the sections that interest you.
Scanning my 35mm negatives with a dedicated scanner
When I gave my first rolls to the lab, the bill was painful: over CHF 30.00 for a single black-and-white roll for development and scanning, with a two-week turnaround. While the wait didn't bother me much, the price, on the other hand, quickly dampened my enthusiasm. I really didn't want to do the math on how many rolls I could afford per month.
I decided to find a way to cut the costs and realized that two-thirds of the lab's price was for digitization alone. Buying a scanner became the obvious solution.
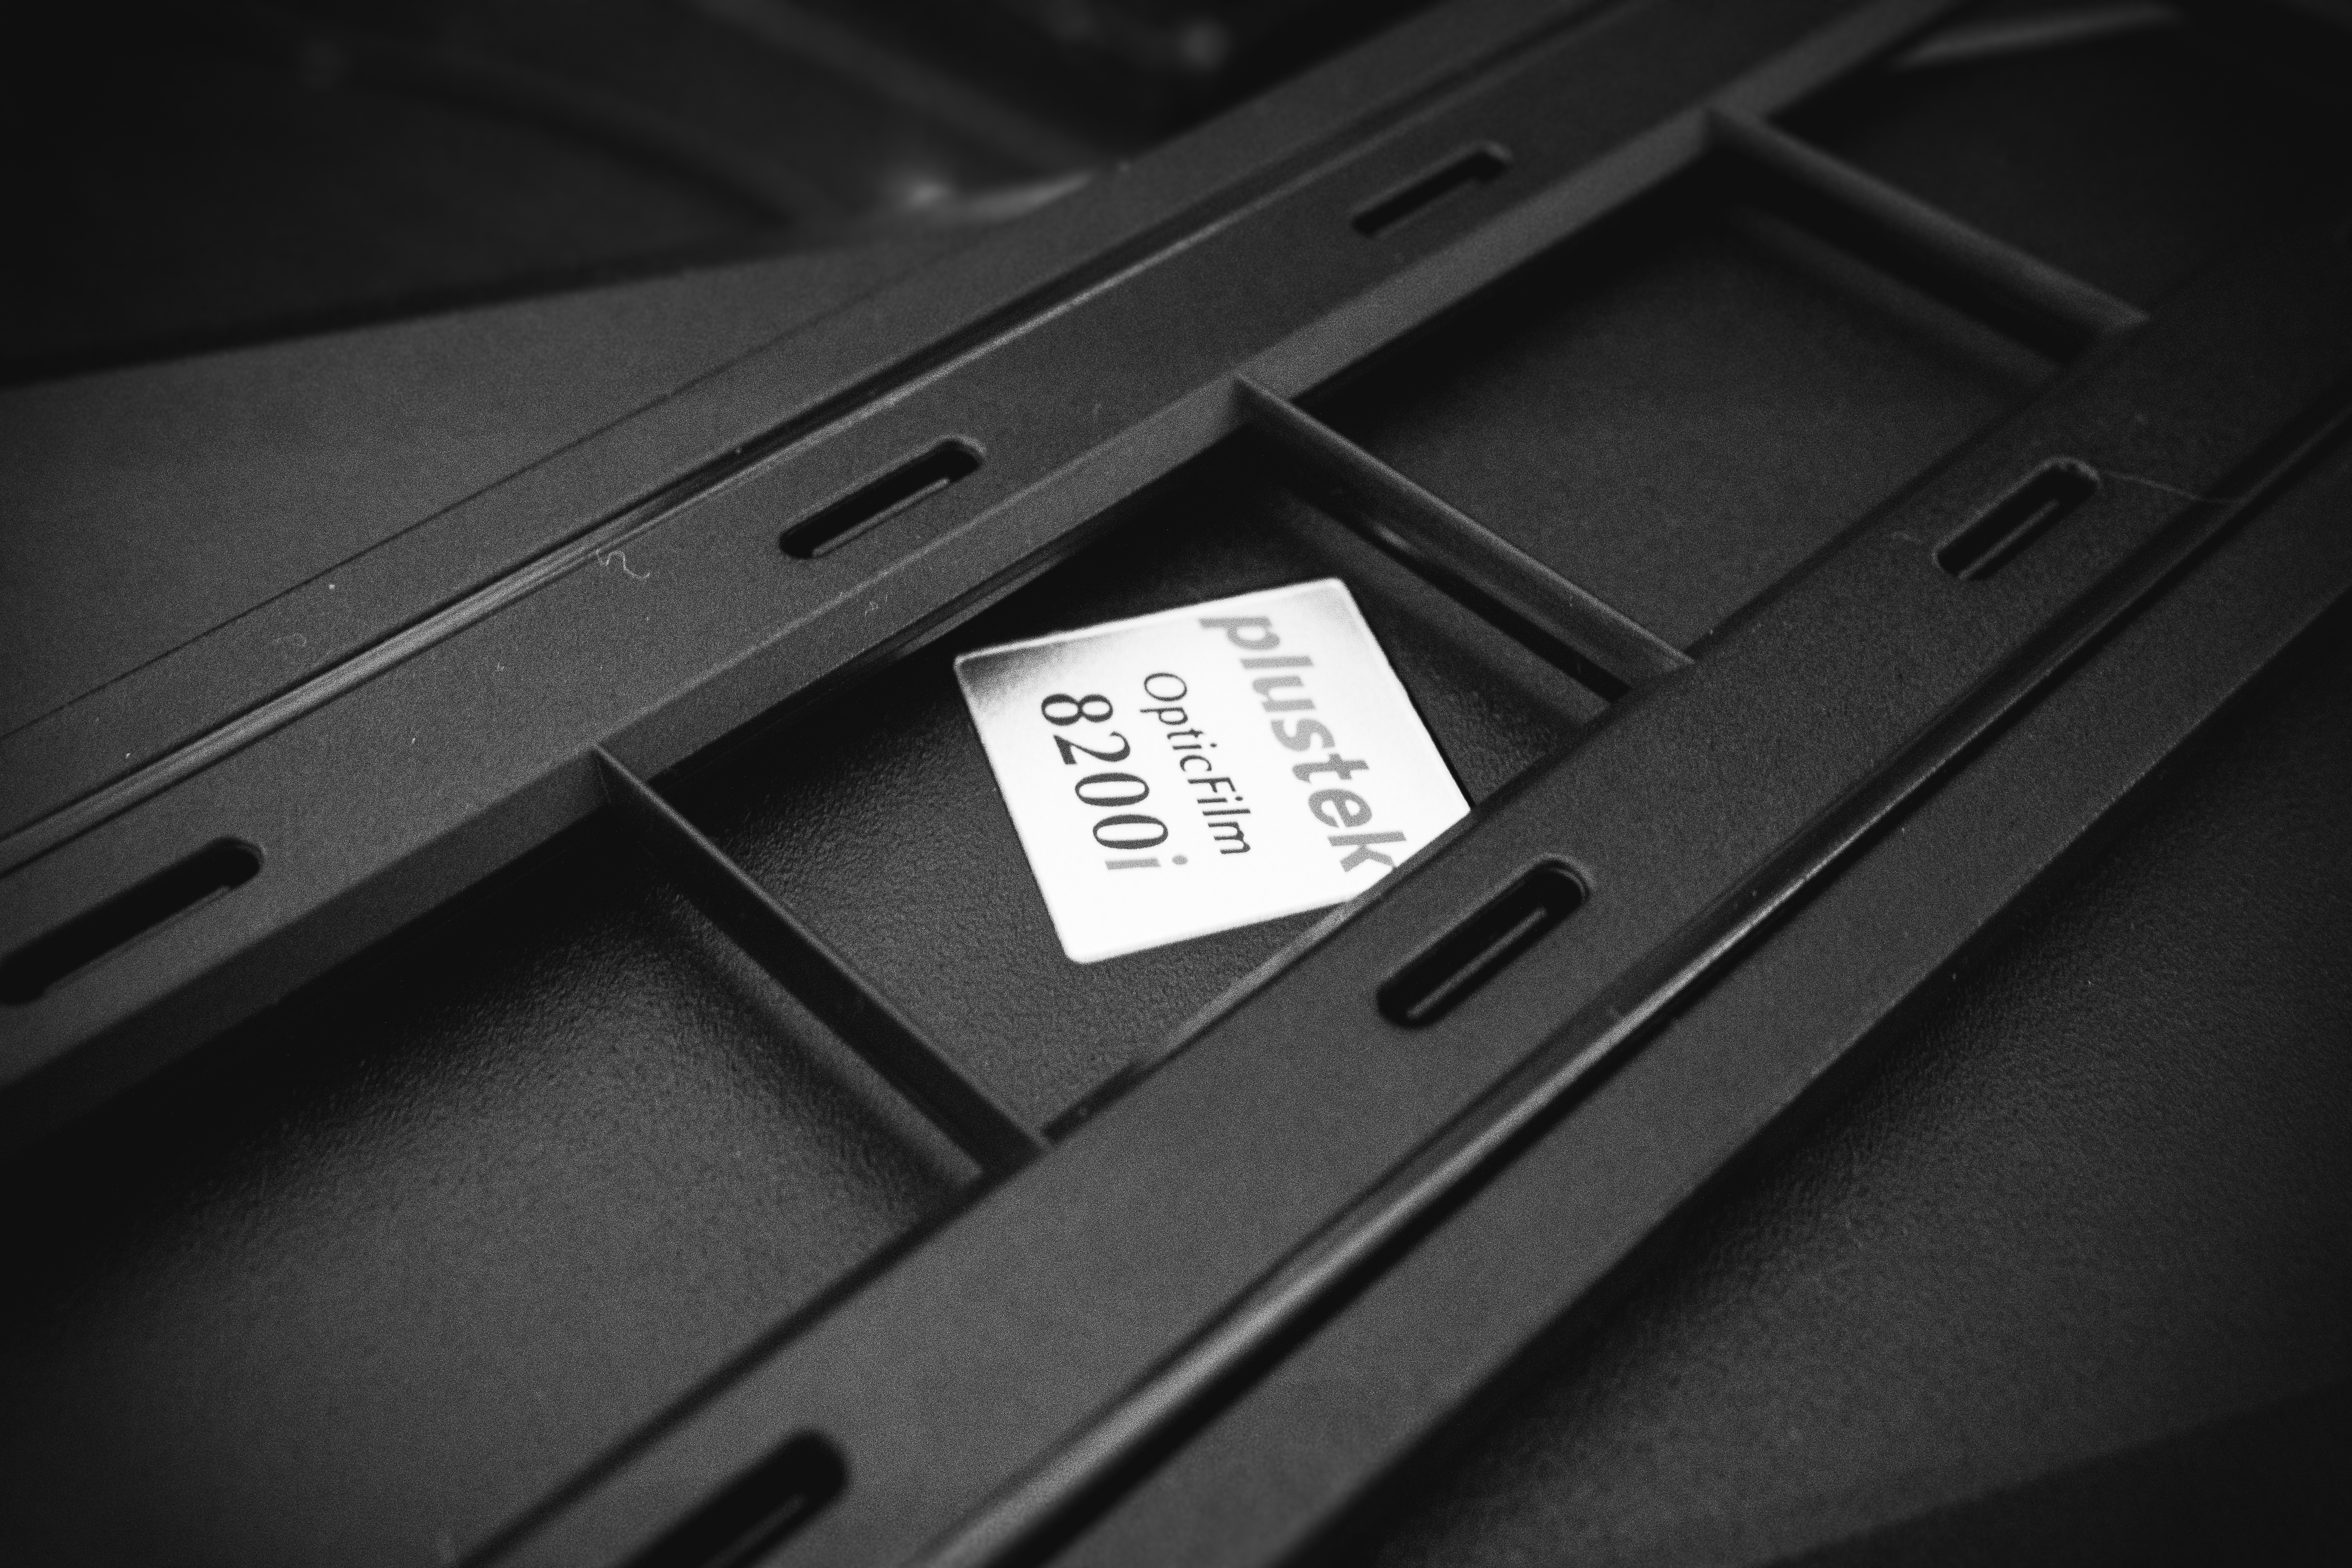
After hours of research, headaches, and endless debates over the various digitization methods, I opted for the Plustek 8200i, a scanner dedicated exclusively to 35mm negatives. At CHF 400, the calculation was straightforward: I needed to scan about twenty rolls myself to break even. I reached that milestone in less than a year.
The scanner comes with a nice pouch, some cables, two negative holders (one for slides and one for film), and SilverFast 9 (the software, on a... CD-ROM... in 2026, anyway). SilverFast 9 feels dated, but it's highly capable. You can scan your negatives at high resolution, use automatic scratch and dust removal, and convert your negatives using emulsion presets.
The process is pretty straightforward: you simply insert the negative holder into the scanner and press Start, then push the holder to the next negative and repeat. It's simple and effective, yet a bit slow — expect about one minute per negative.
Building a copy stand
The ultimate goal of my film journey is to print my photographs in a darkroom, without using any printer. I want to do everything myself: shoot, develop, and print my images without any external intervention or computer, creating truly handmade photographs.
One piece of equipment I need to achieve this is a copy stand. This setup serves two purposes: scanning my 120 negatives (my Plustek 8200i is limited to 35mm film) with a DSLR, and serving as a base for printing with an enlarger.
But after a lot of research, it became clear that even a used copy stand was out of my budget. At around CHF 600.00, no fricking way.
Fortunately, I came across a really interesting article by Alexander Matragos about how he built his own sturdy copy stand for a fraction of the price. The full article is available here: https://alexandermatragos.com/blog/2023/1/15/building-a-copy-stand-to-scan-film-for-100
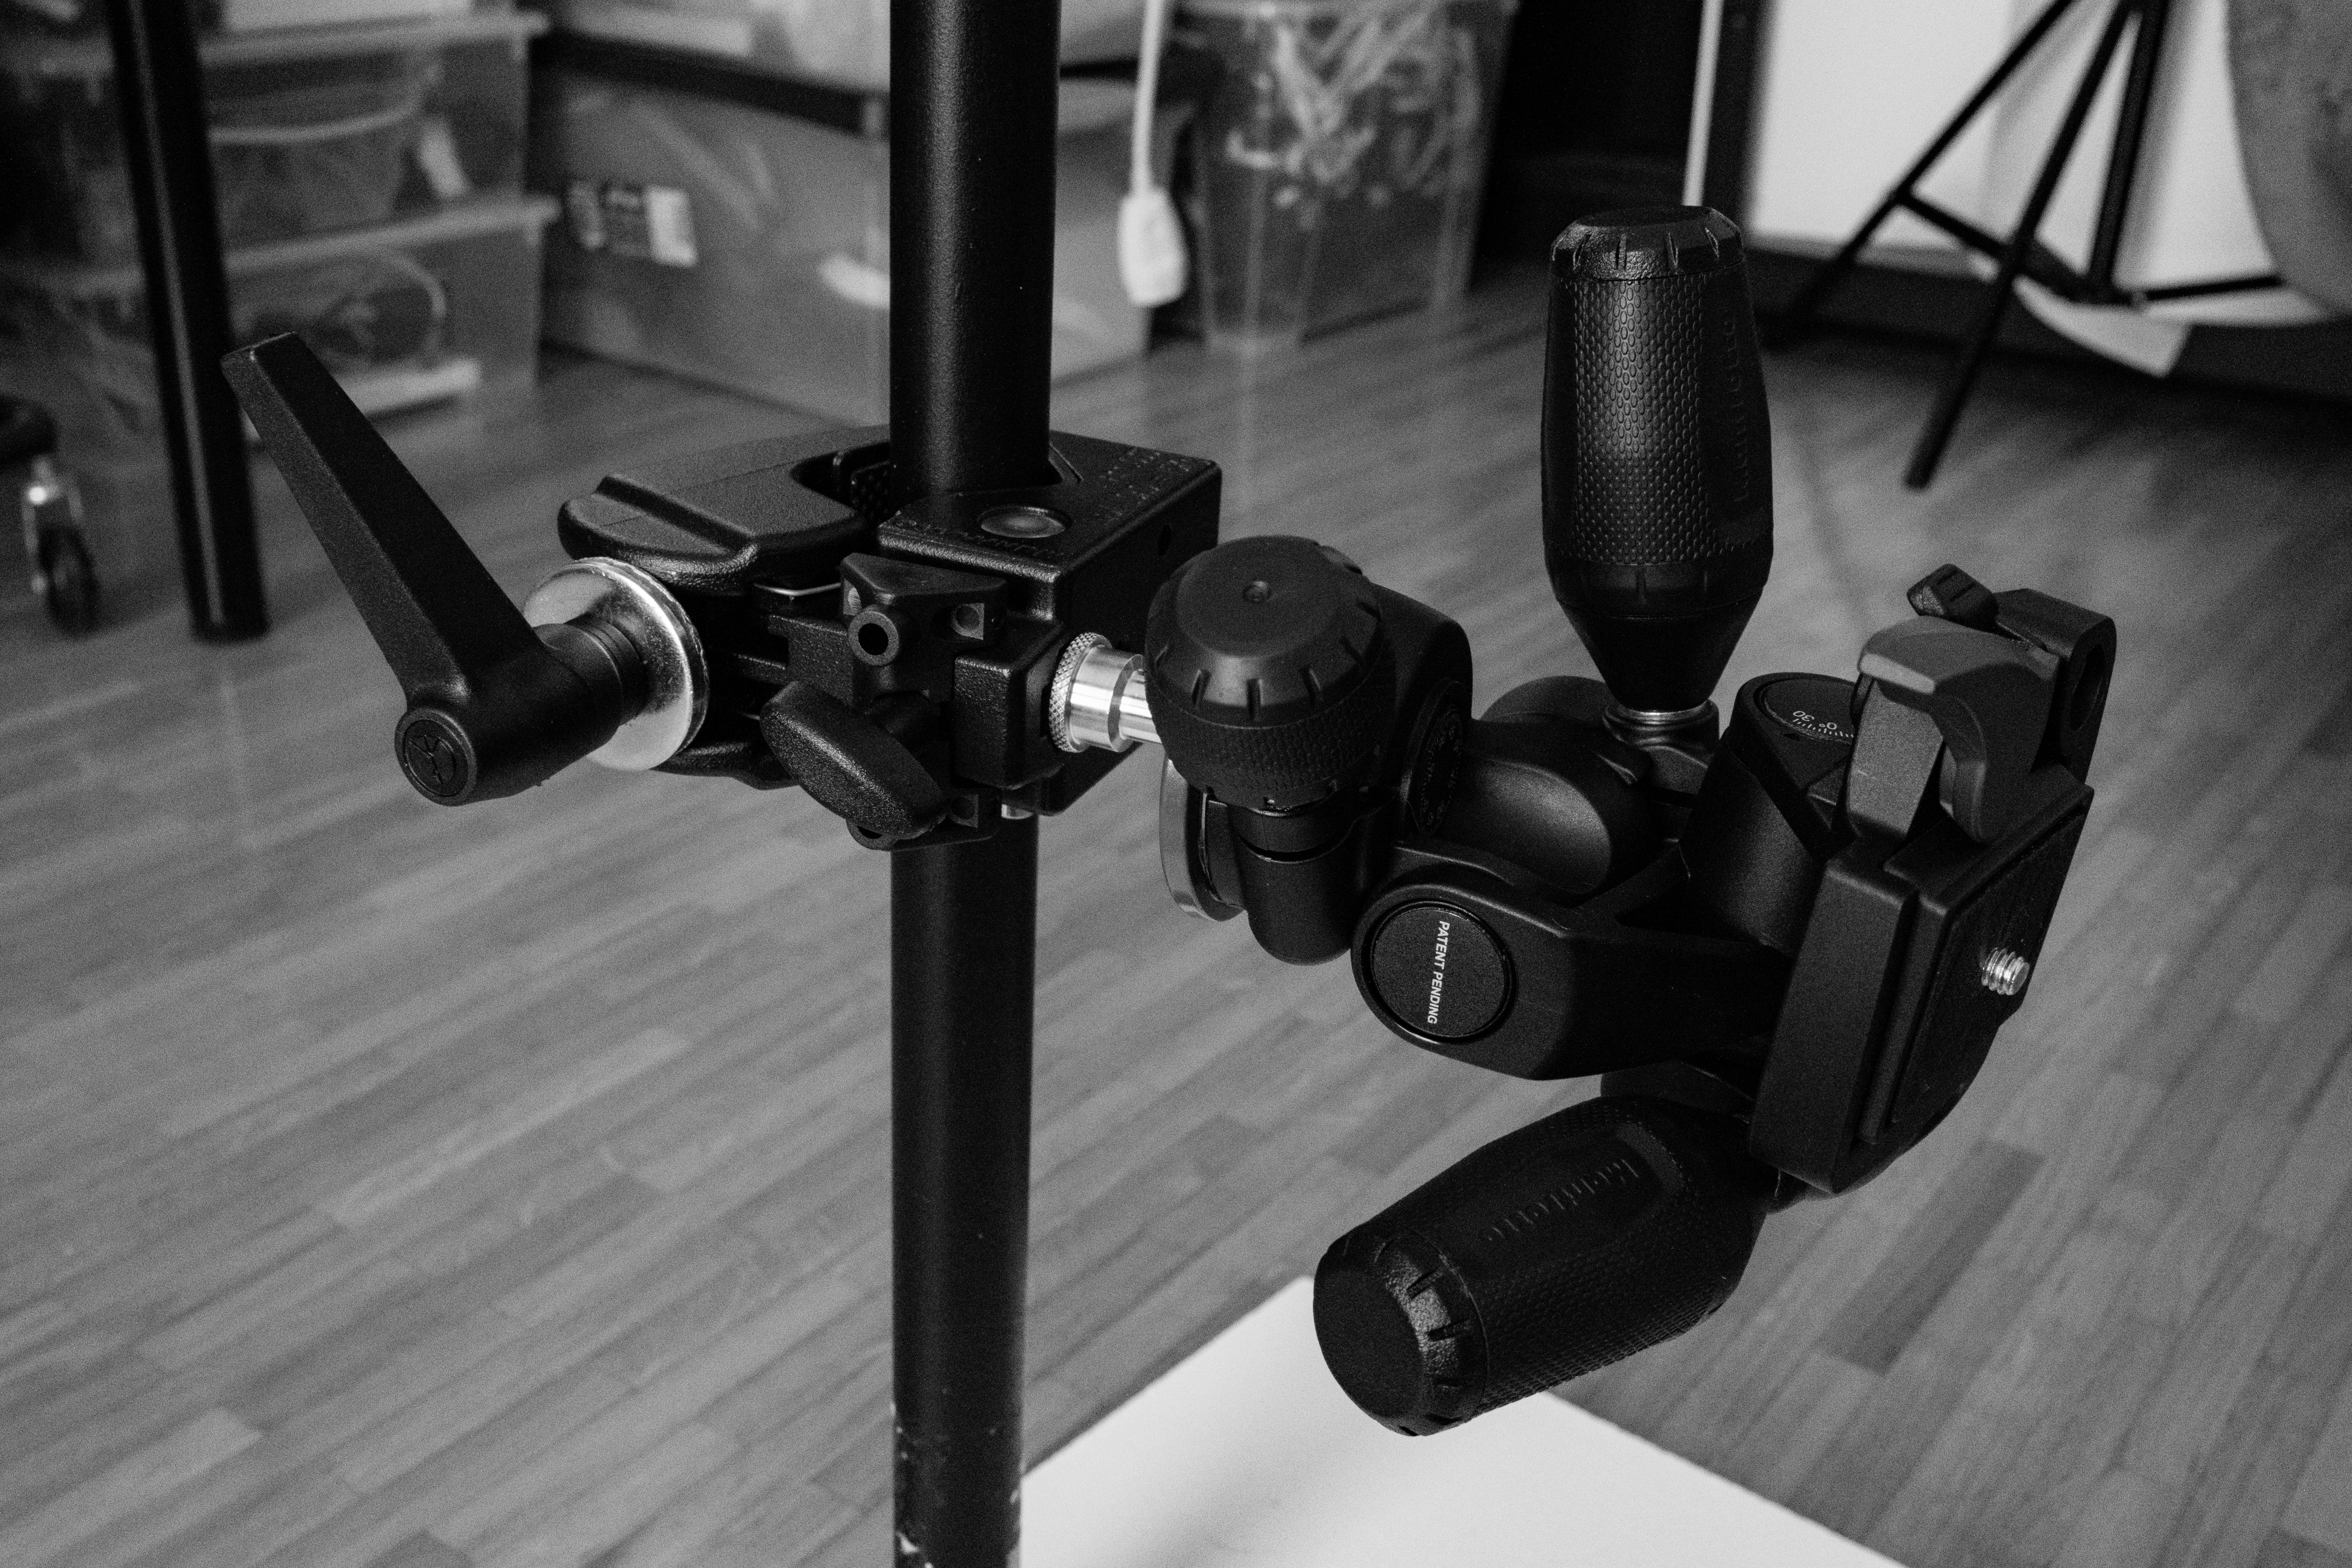
I went to Obi Schweiz and got all the necessary materials for less than CHF 40.00. The tripod head (Manfrotto MH804-3W) and the clamp (Manfrotto Super Clamp 035 + 013 Spigot) were ordered online for under CHF 80.00.
In the end, I assembled a complete system for approximately CHF 120.00. And this thing can't move. It's sturdy as hell.
I still need to test it with my old Canon 5D Mark II to see whether the micro-vibrations from the mirror are manageable or not.